
When photographing exhibitions in the Wittliff Collections‘ Writer’s Room, our focus has been documenting the exhibit cases, as seen in this past blog post, but the recent Legends of Tejano Music exhibition had materials on display everywhere! While finalizing my documentation photographs, I decided to create a panorama from multiple images to better showcase the details along the back walls. Unfortunately, one of the photos had fallen from the wall between setup and capture of the best frame for part of my panorama. Surprisingly, the photograph landed in a lucky position and I was able to restore it to its proper location using Adobe Photoshop.
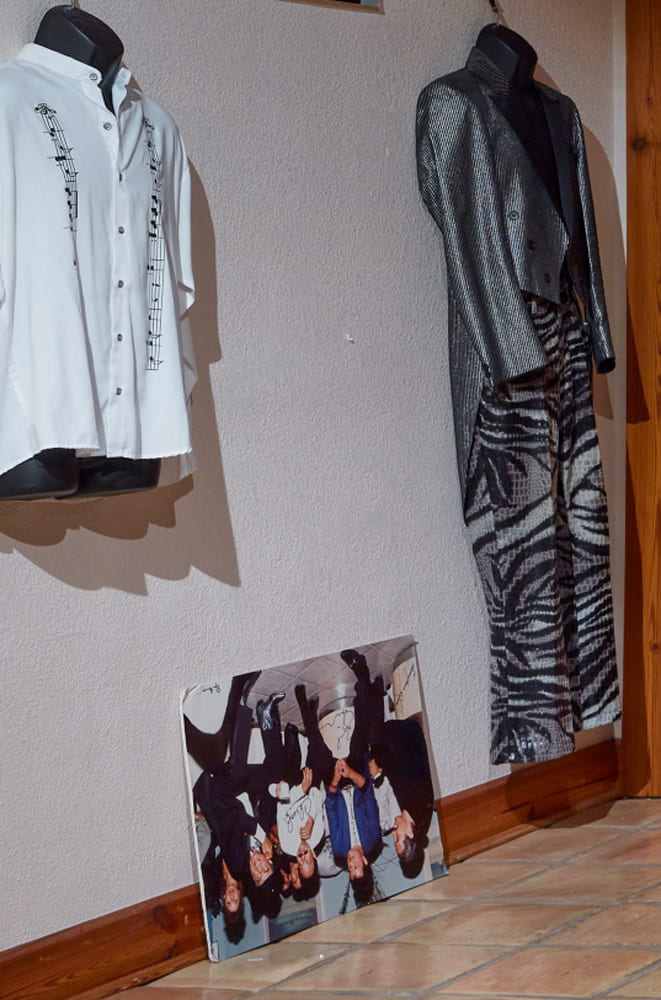
Detail of the original image
First, the photograph was selected with the Lasso tool and copied in a new layer before being rotated and moved into position on the wall. A small Distort Transform was also applied to set it in line with the wall and the photograph above it
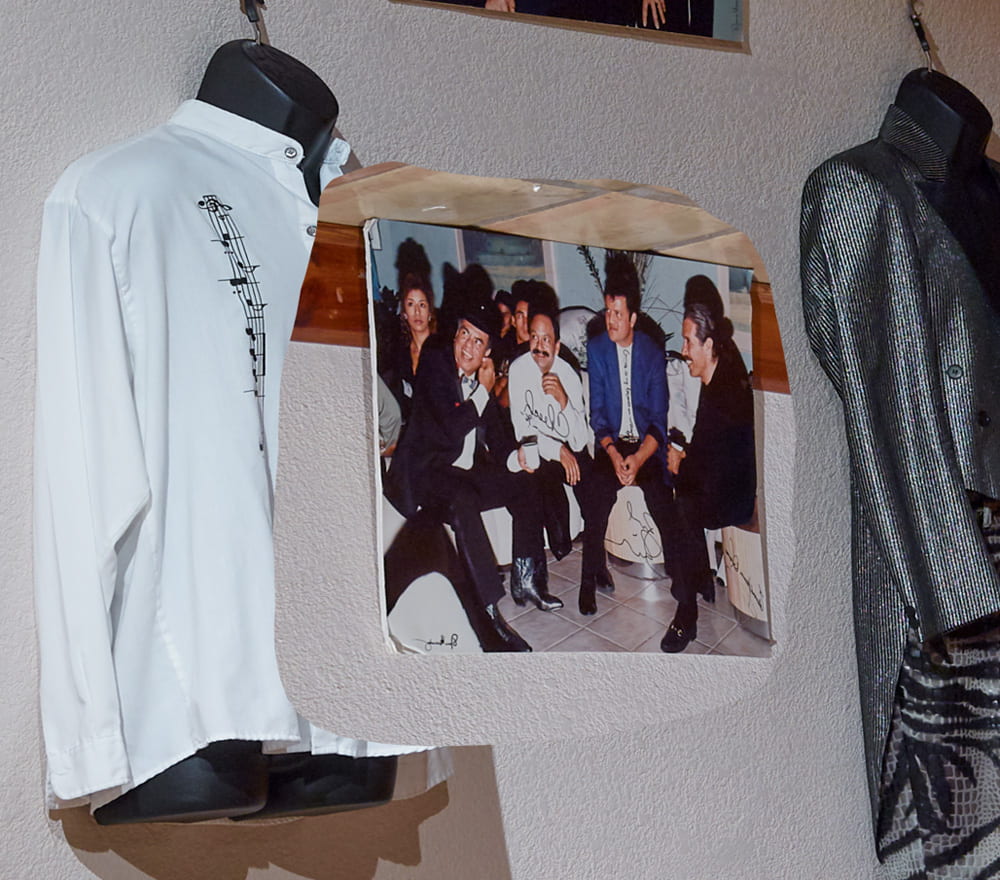
The new layer in place on the wall
To find a good match from the wall that would cover the fallen photograph I used the Lasso tool. Using the Lasso, I selected a section of the baseboard from another photograph I made of that wall which seemed a better match then used Distort Transform to align the angles. A slight Box Blur was also used to blend the new baseboard into the original.
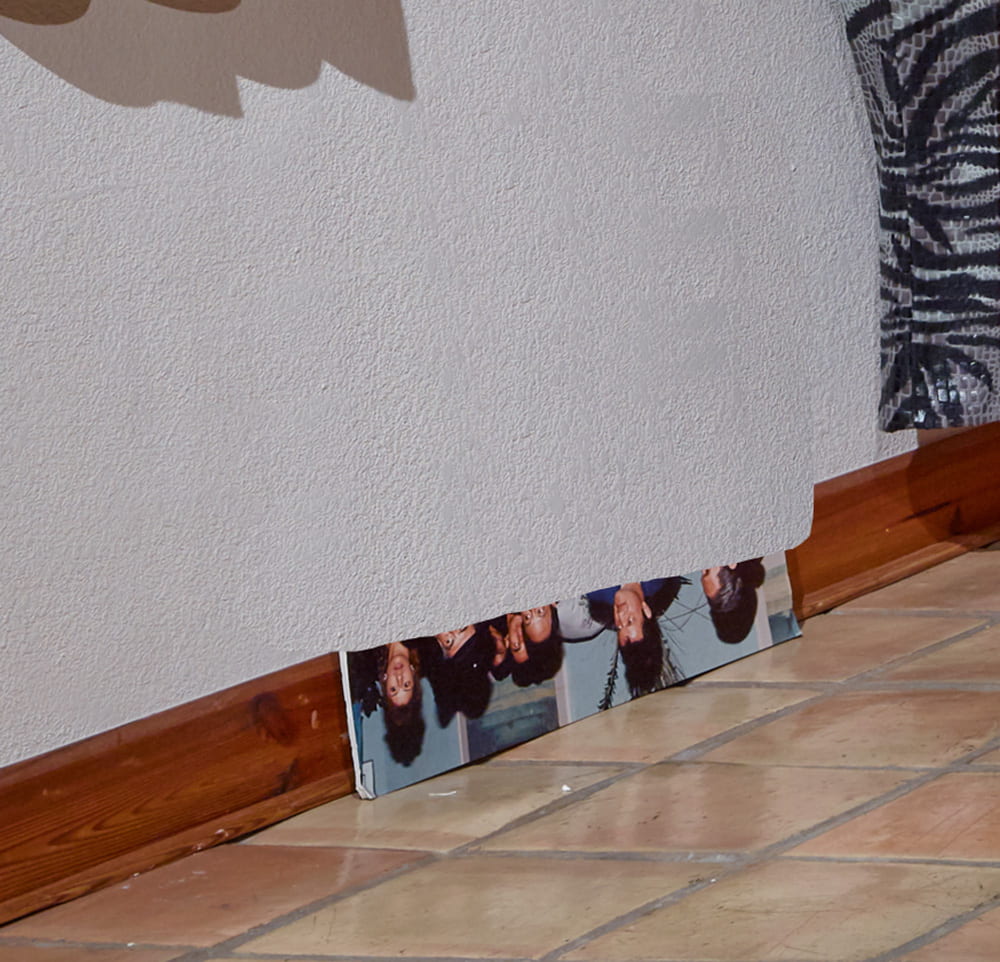
Sections of the wall copied to cover the fallen photograph
Once my rough pieces were organized, I used Layer Masks to blend the edges of my new pieces into the original picture. A Wacom tablet made this task much faster.
Additional work around the flipped image added shadows and slightly darkened the new photo. The Patch Tool and some Clone Stamp detail work cleaned up the texture of the wall as well.
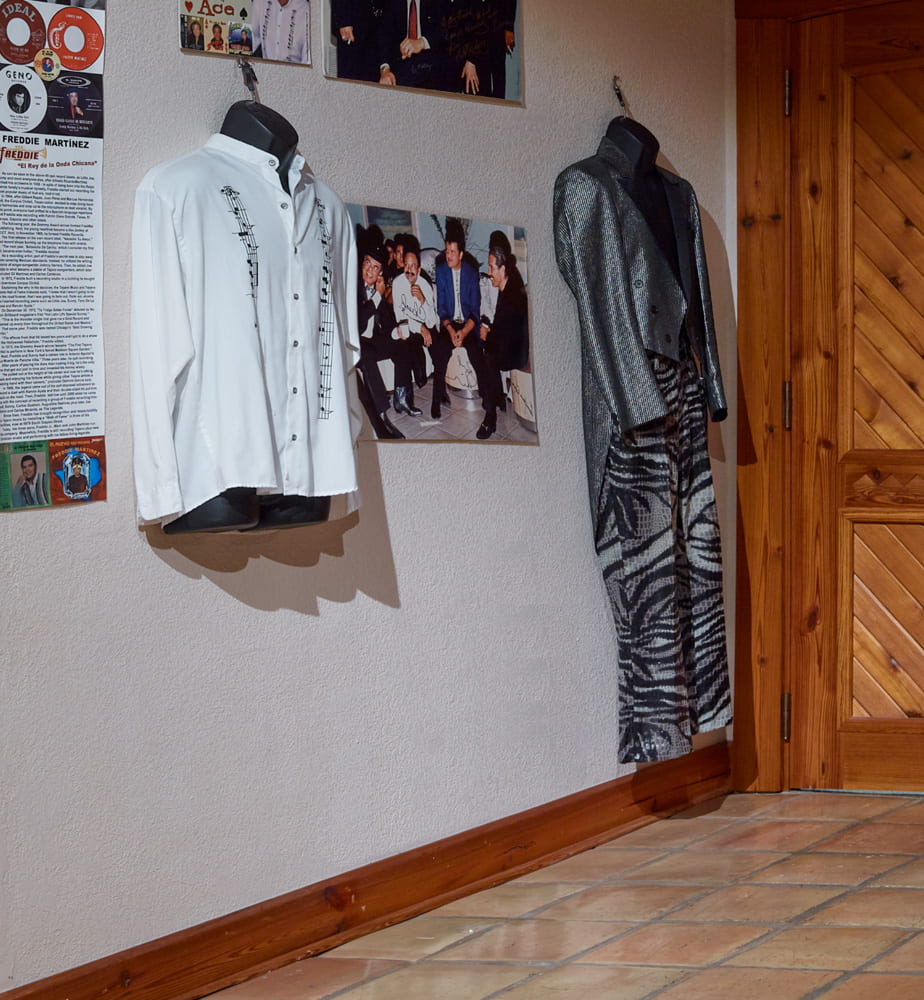
Detail of the finished results
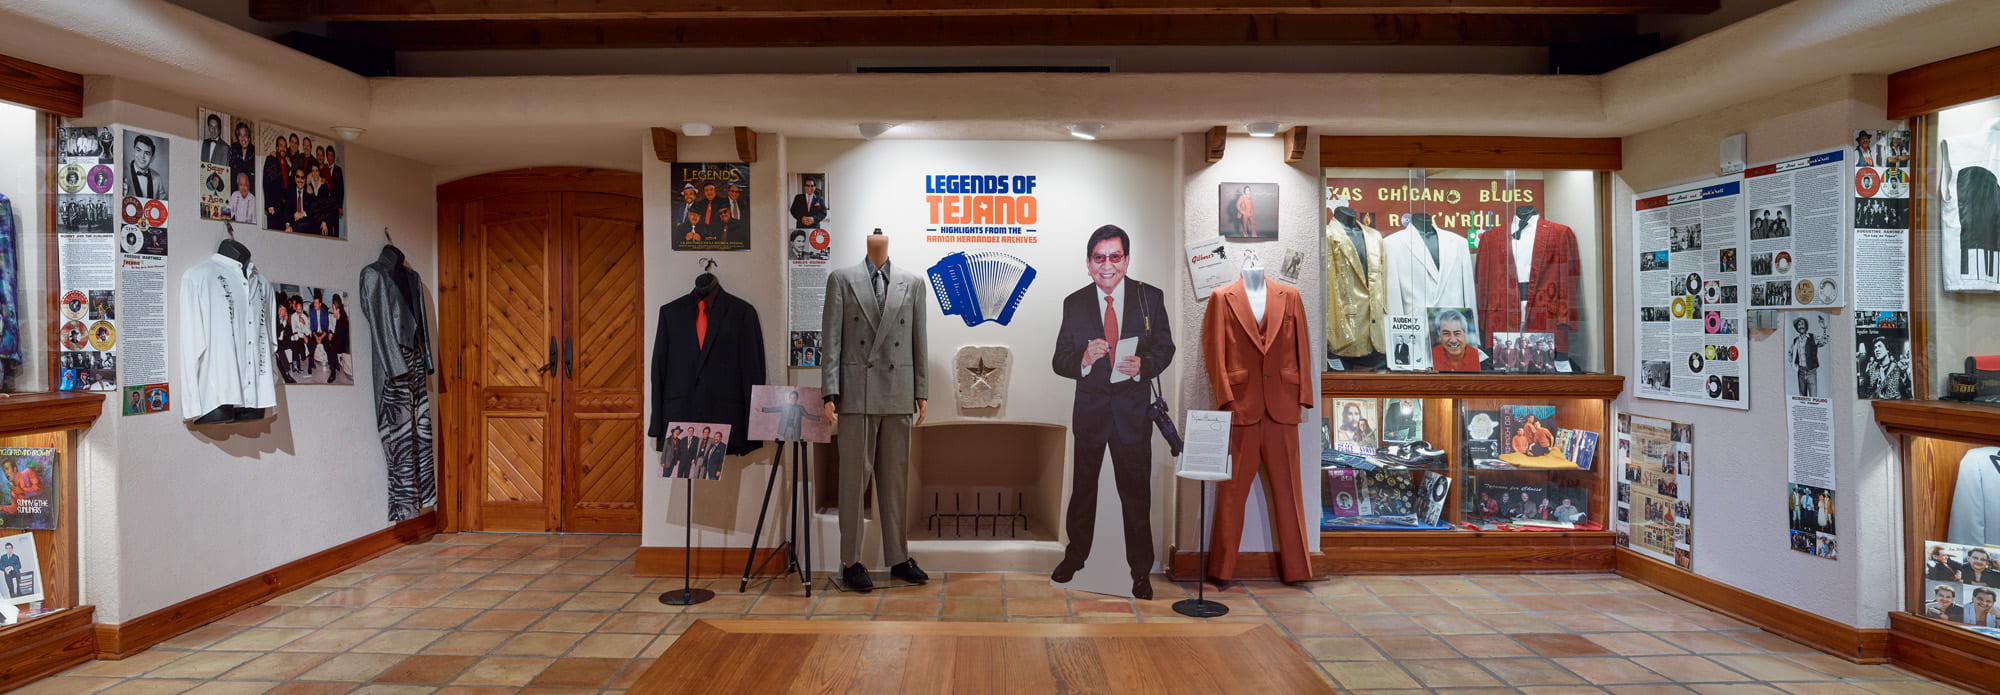
The final panorama
Erin Mazzei
emazzei@txstate.edu