
In mid-March, we received a request to provide images for an exhibition on the work of the Texas artist and sculptor, Buck Winn, that exists on Texas State University’s campus. One of his works on the façade of Flowers Hall is a bas-relief sculpture with stained glass inset throughout. Originally the stained glass allowed light to shine into the stairwell on the interior of the building, however over the years the interior was altered, and the stained glass was filled in. Laura Kennedy, a University Archivist, wanted to create a coloring page to allow viewers of the exhibition to download the image and color in the stained-glass portions with their own interpretation. Getting a good image of the full artwork was challenging, since the façade of the building is tall and narrow, with trees and a staircase in front of it, and there’s no way to take a photograph of the building straight on.
I began by capturing an image of the entire mural, with as minimal interference from surrounding elements. I also had to consider time of day, to avoid interference from dark shadows or harsh sunlight.
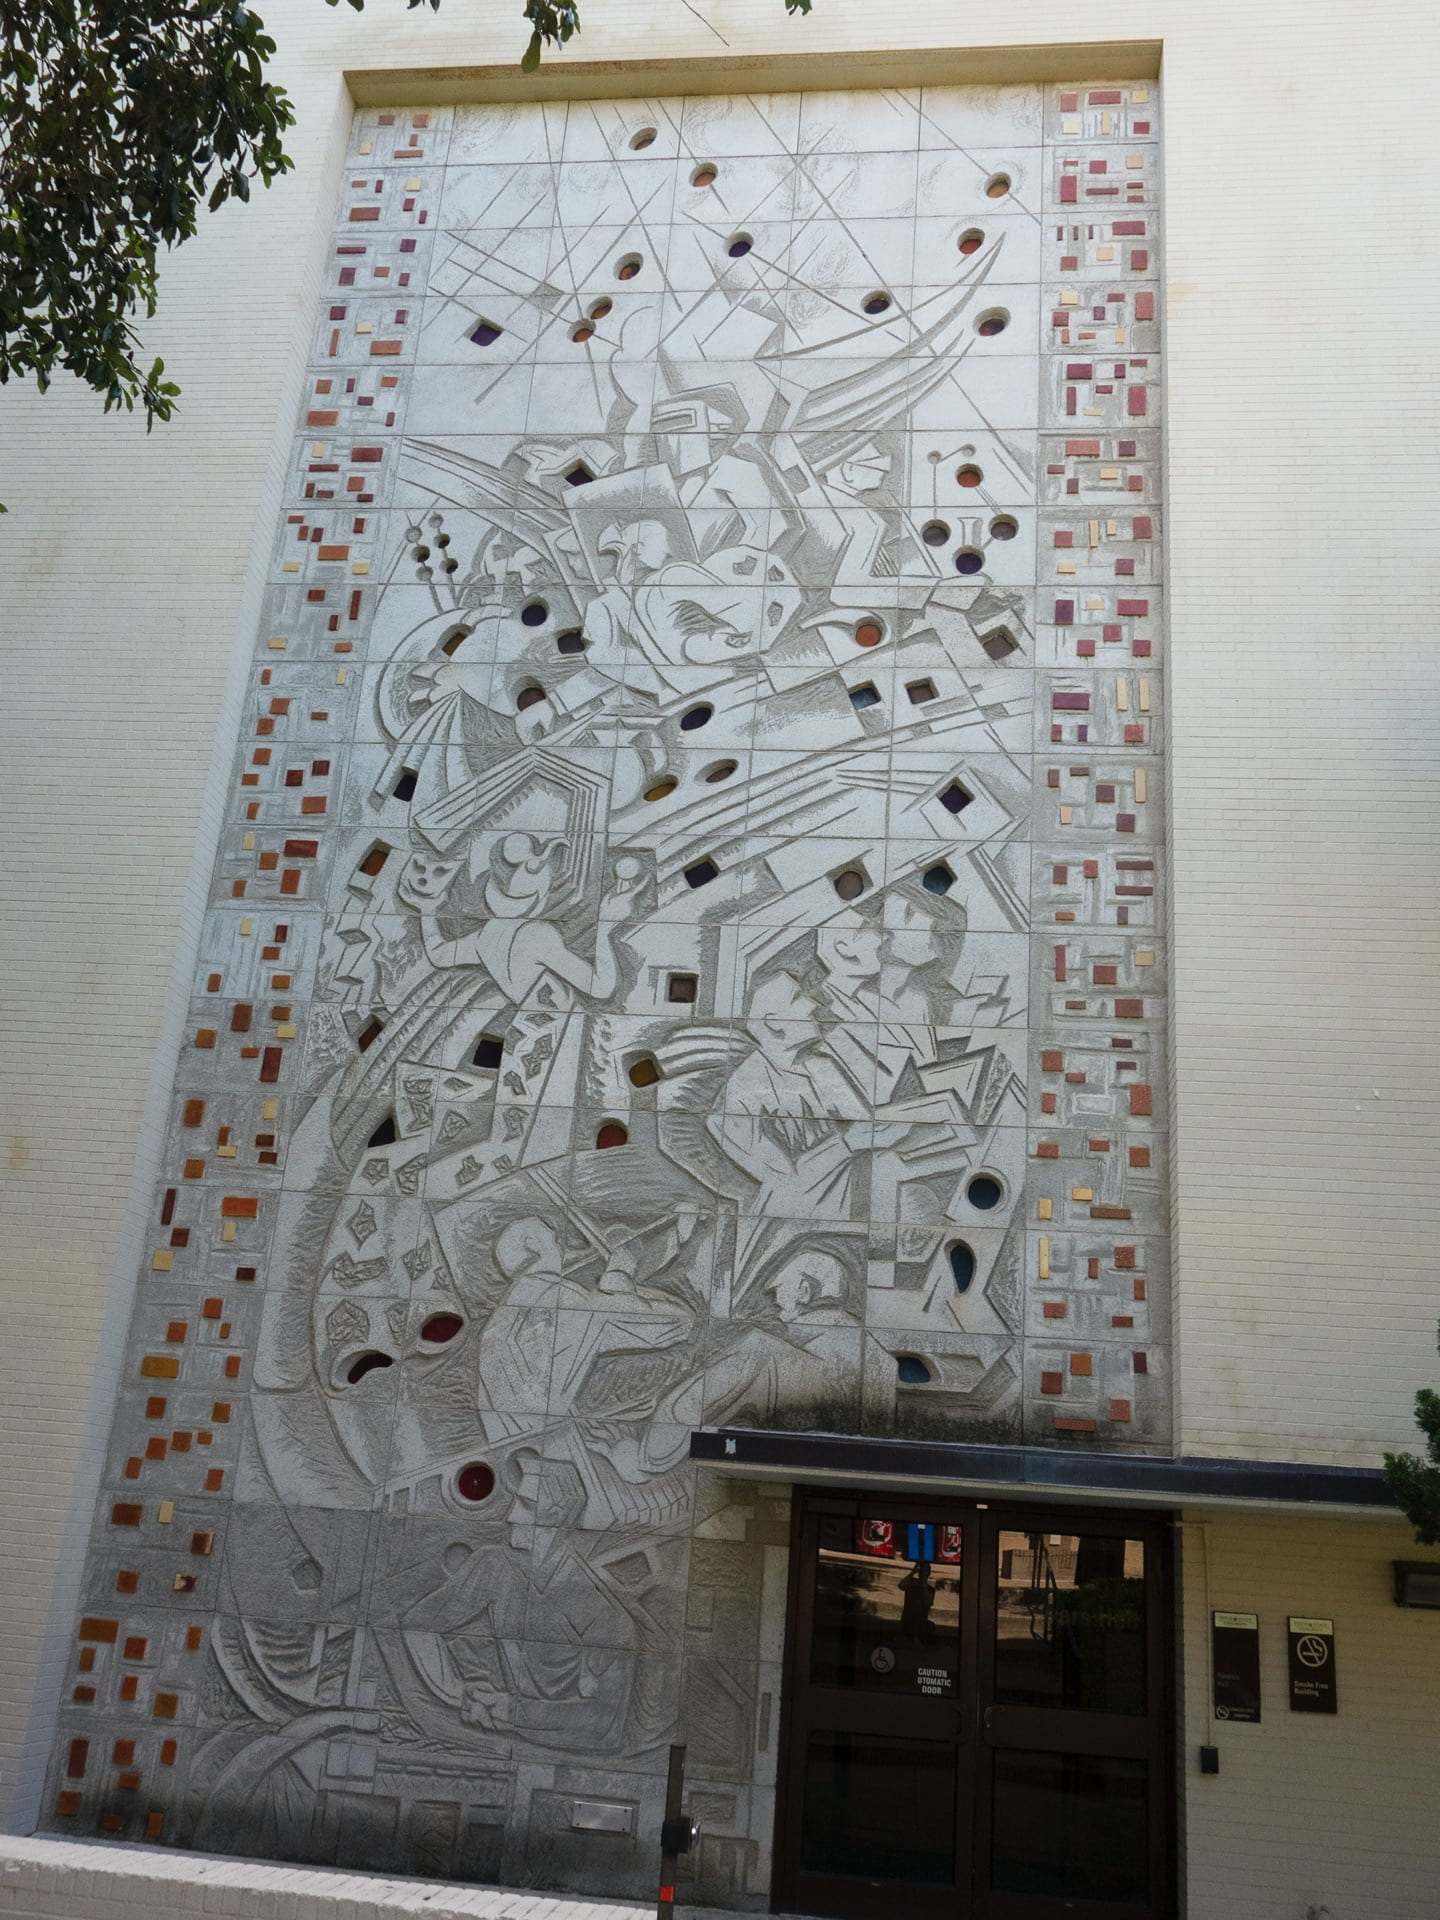
Buck Winn mural at Flowers Hall, Texas State University
First, I opened the image using Camera Raw editor and adjusted the exposure to further illuminate the detail of the facade. Next, using Photoshop, I adjusted the keystone and distortion by using the free transform option. A grid overlay made it much simpler to get the shape of the building square and keep the proportions accurate. I then cropped the excess part of the image so that just the artwork was visible.
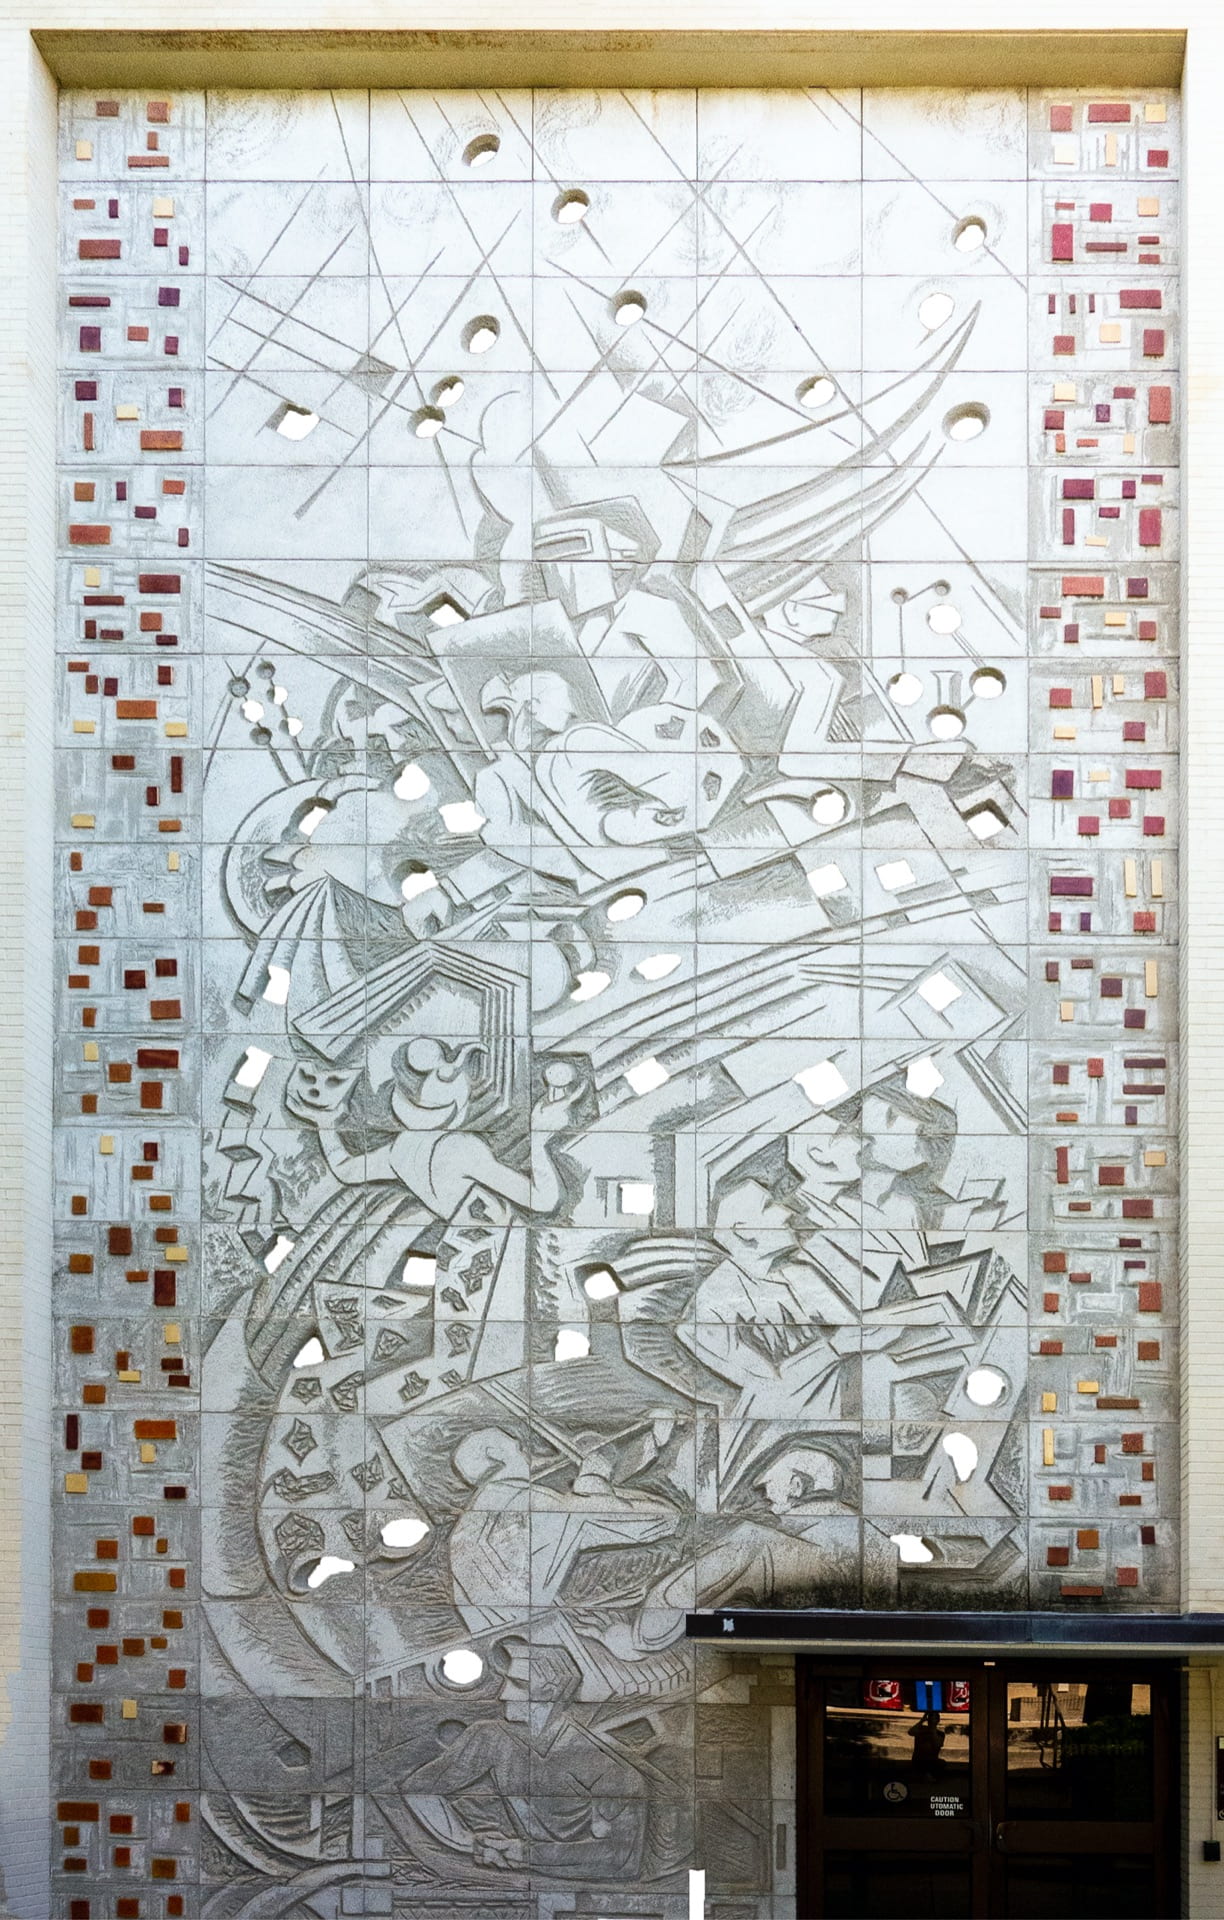
Keystone Correction, Deleted Stained Glass
After correcting the distortion, I adjusted the Levels to further refine the impression of the relief. I also adjusted down the white value so that it was just slightly grayer than paper white to allow a better separation from the stained-glass portions in the final image. I inverted it to a grayscale image and used the sliders to make the stained glass more visible. This step helped to more easily select the stain glassed portions to be removed. Next. I went over the image and used the quick selection tool to remove all stained-glass parts of the image, then deleted the contents of the selection.
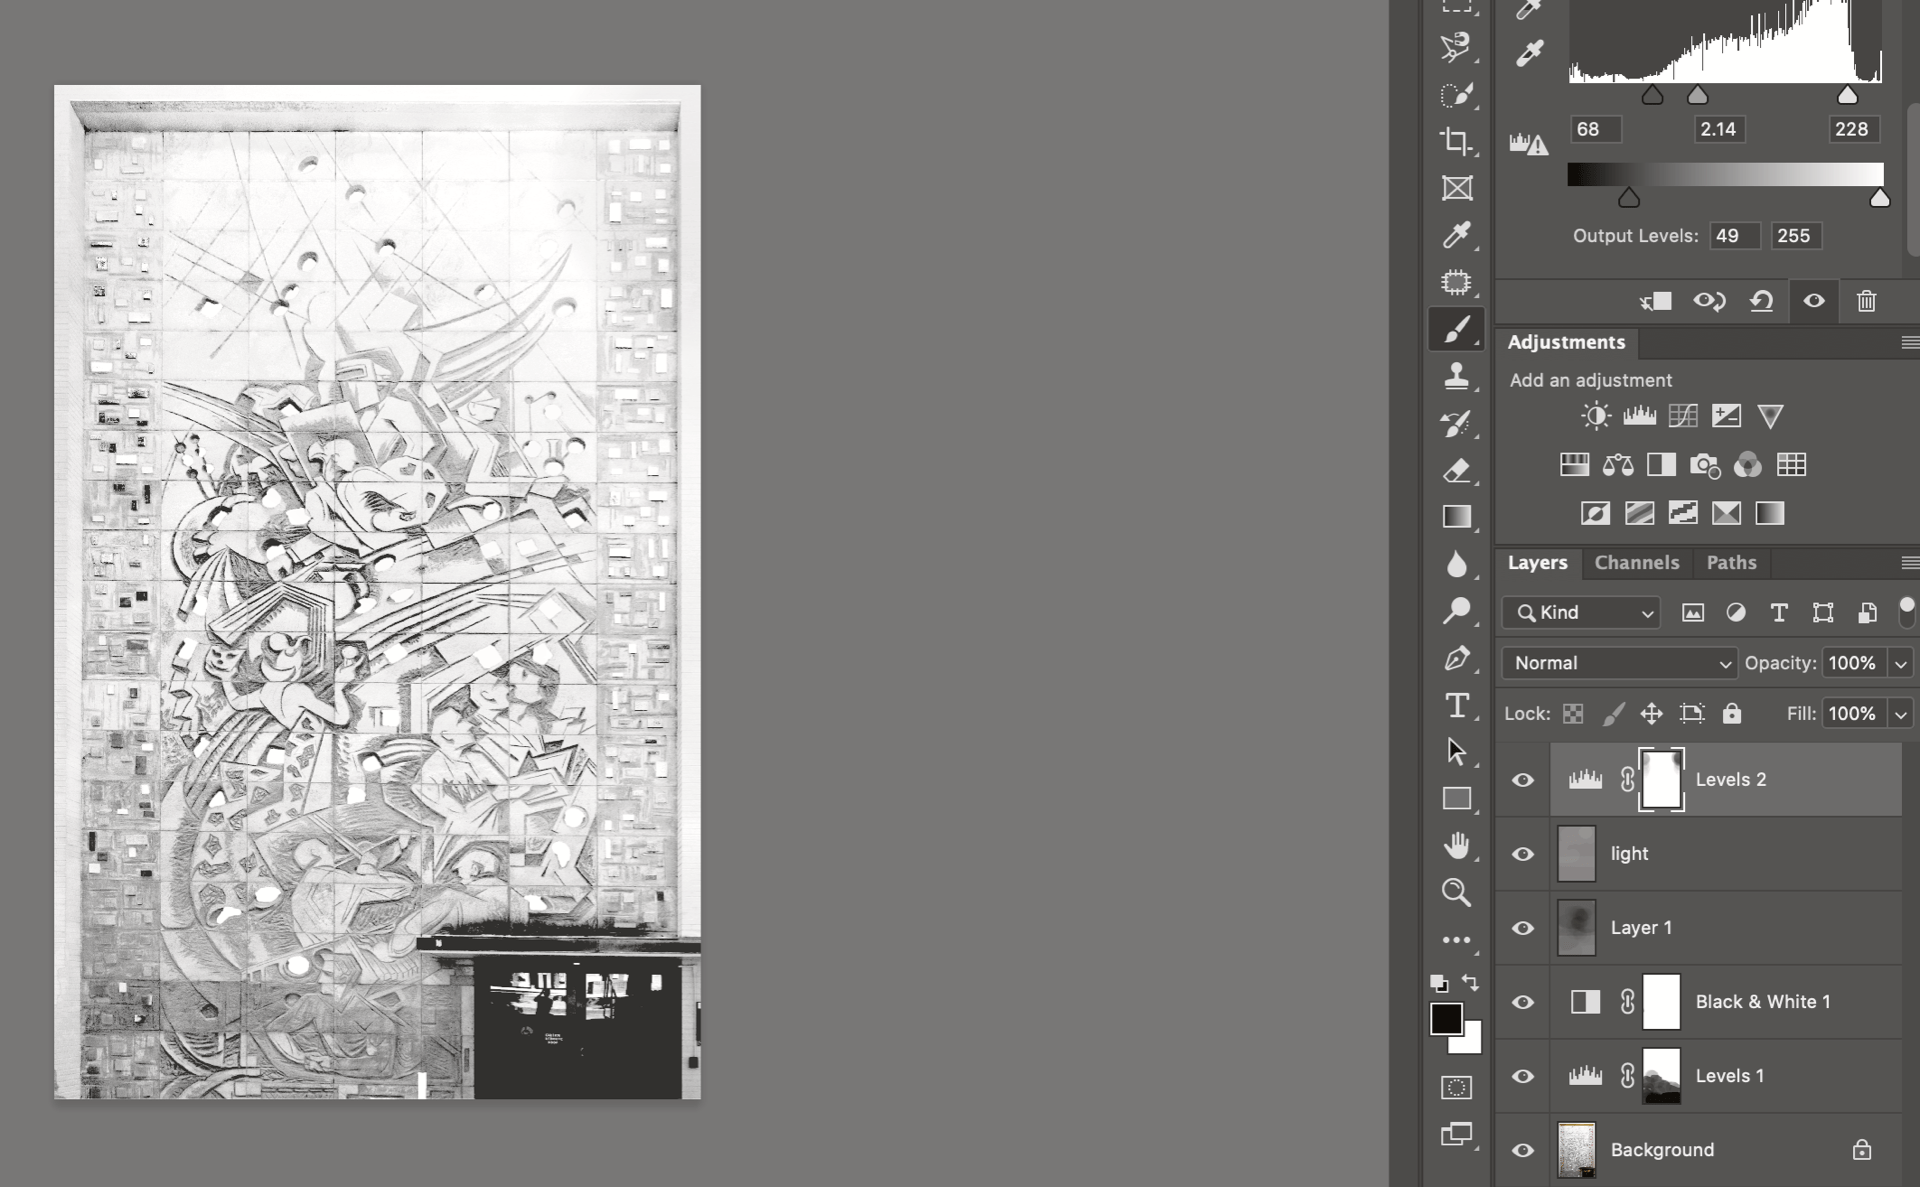
Layers used in Photoshop to achieve end results

I then used the 50% gray layer adjustment to refine the values of the image. Due to the angle of sunlight on the wall, the top of the building was considerably brighter than the bottom. I used this layer adjustment to help equalize those differences and to increase contrast on the relief of the sculpture. Once I was happy with the visual qualities, I printed a test on a standard BW laser printer.
Below is a sample, but Click Here to see the final version!
