
The other image request for the University Archives Buck Winn Exhibition was for an isolated version of Anna Hyatt Huntington’s statue of Fighting Stallions, so that viewers of the exhibition could download the image and recreate the base on which the statue stands. Originally, Buck Winn designed an elaborate natural landscape to hold the statue (see Winn’s design here). Over the years, his design was removed and a simple concrete structure now exists. Visit the Online Exhibition Here for more information!
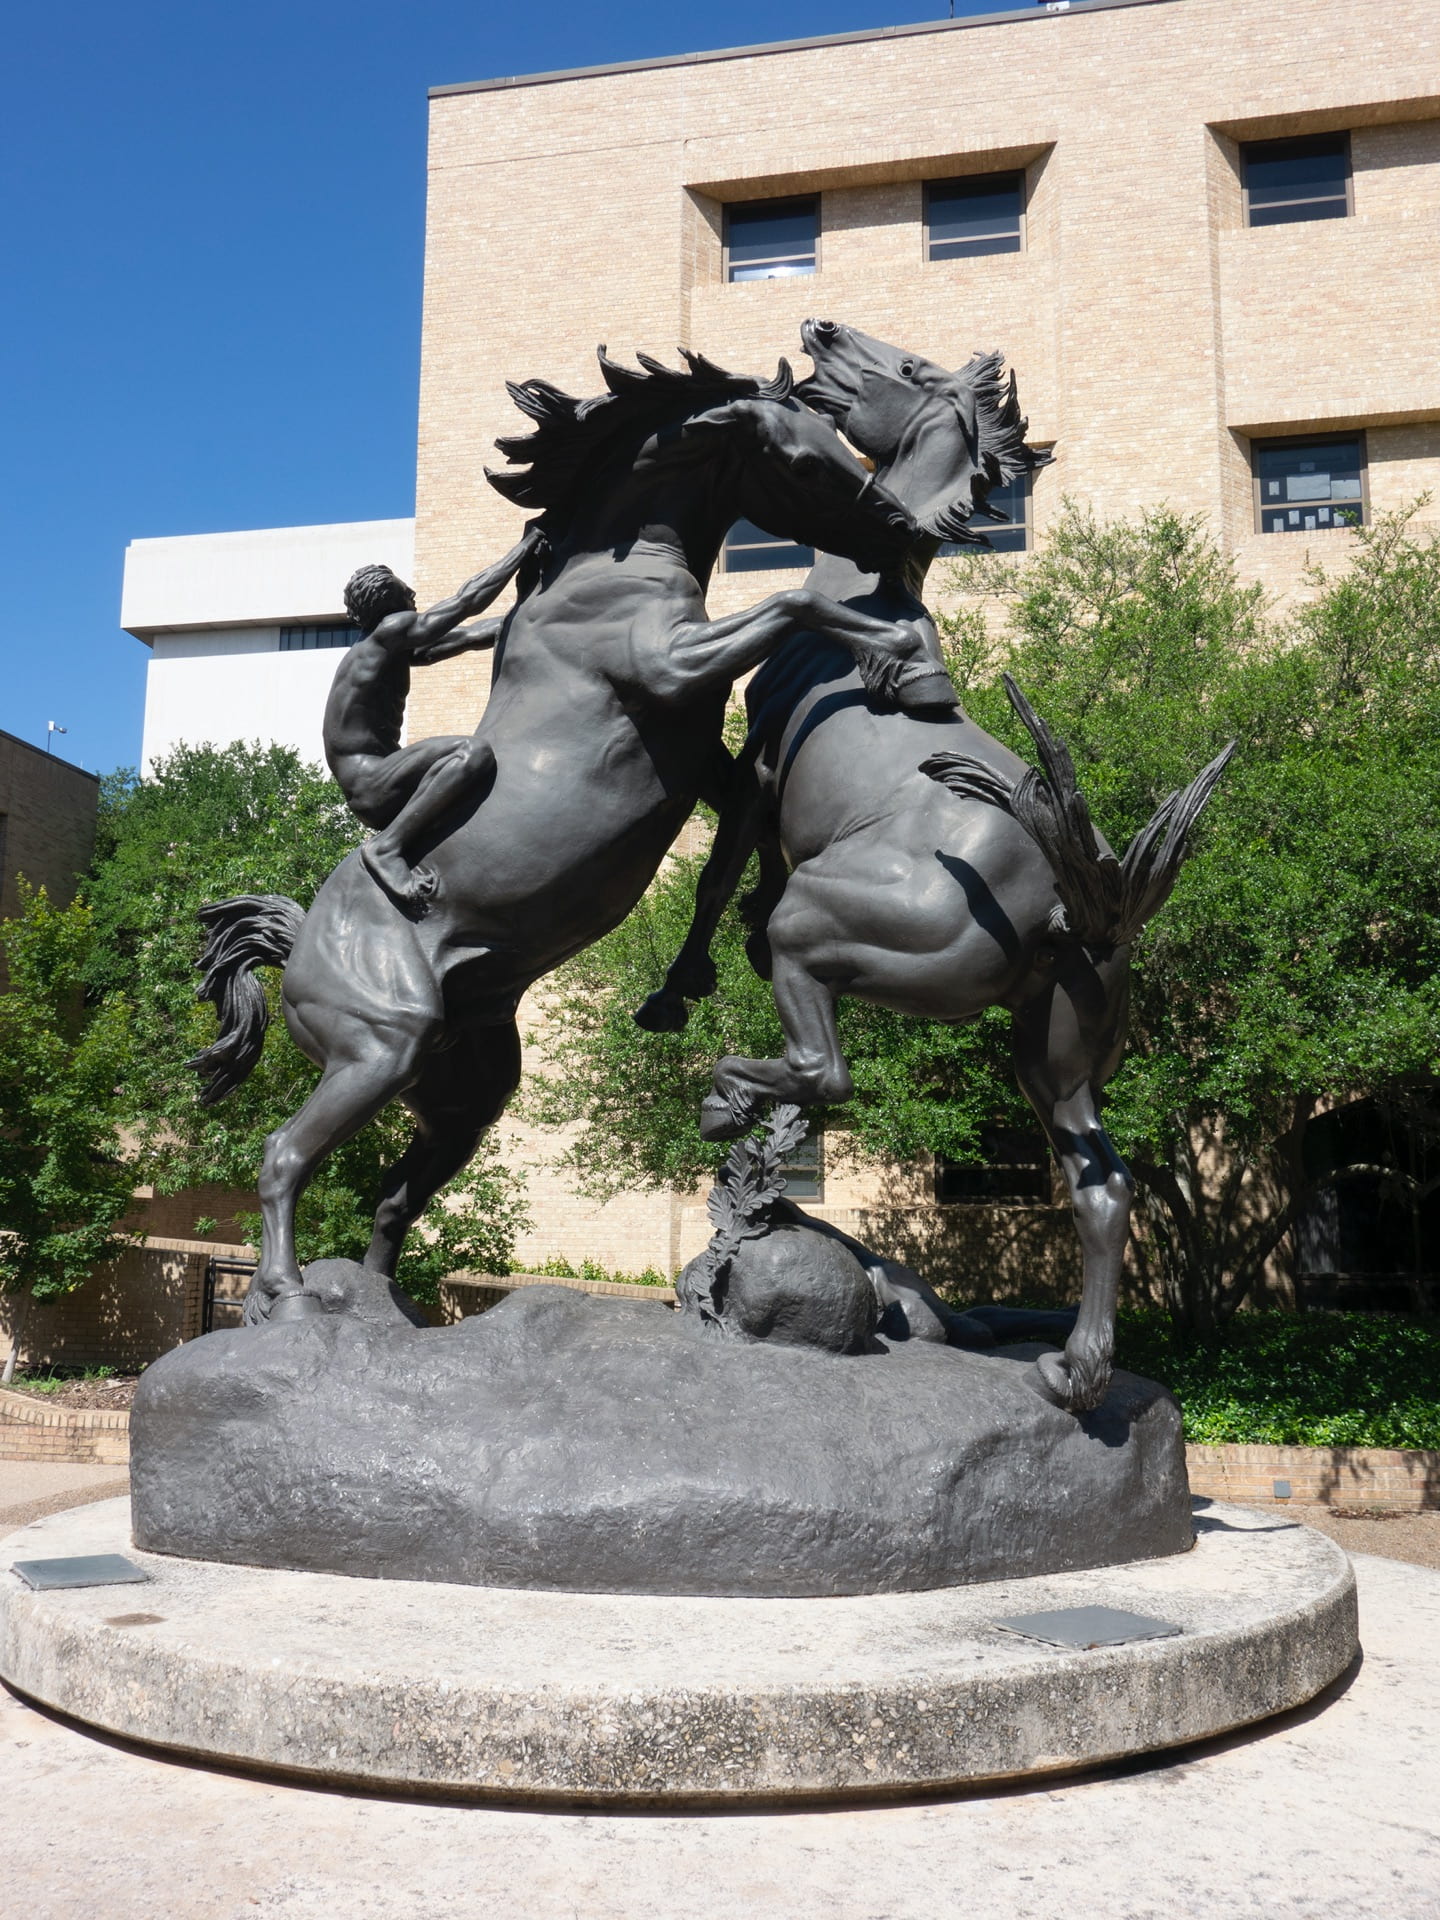
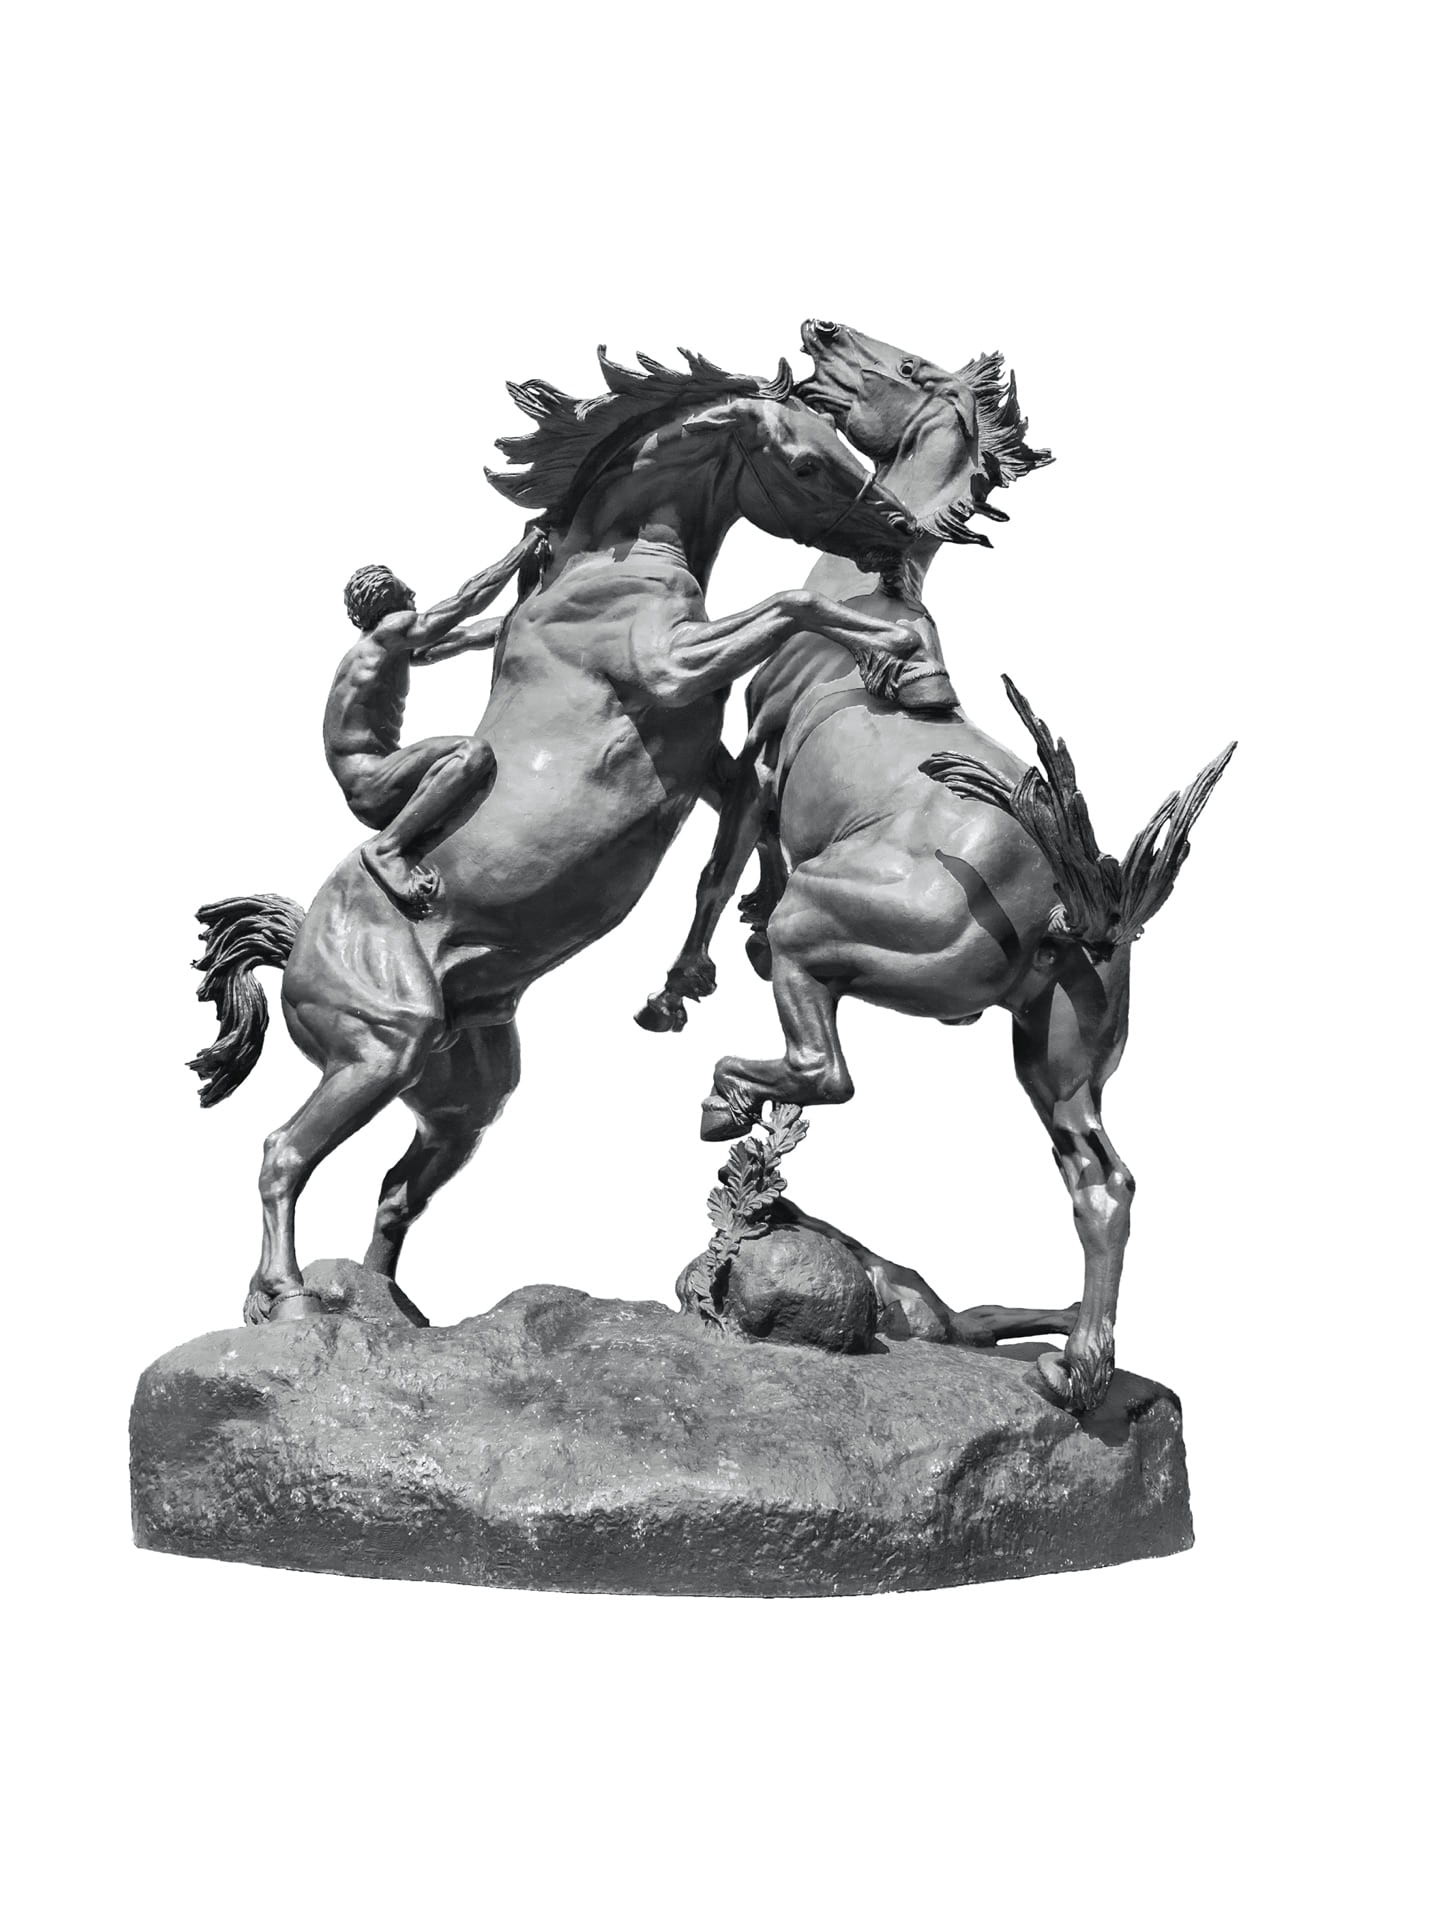
Image of Fighting Stallions (Original)
I began by making an image of the stallions with a digital camera. After deciding on the best view of the stallions from the digital image captures, I opened it through Adobe’s Camera Raw Editor and adjusted some of the values of the image. I kept most of my attention on how the stallions looked, since that is what was going to be in the final image. I also increased the saturation of the image, particularly in the greens. Since the Stallions are gray and black, increasing saturation in the greens did not effect the Stallions. Making this adjustment will make it easier to select parts of the image i want to eliminate in Photoshop.
Once satisfied with my adjustments in Camera Raw I opened the Image in Photoshop. Here you can see the increased saturation.
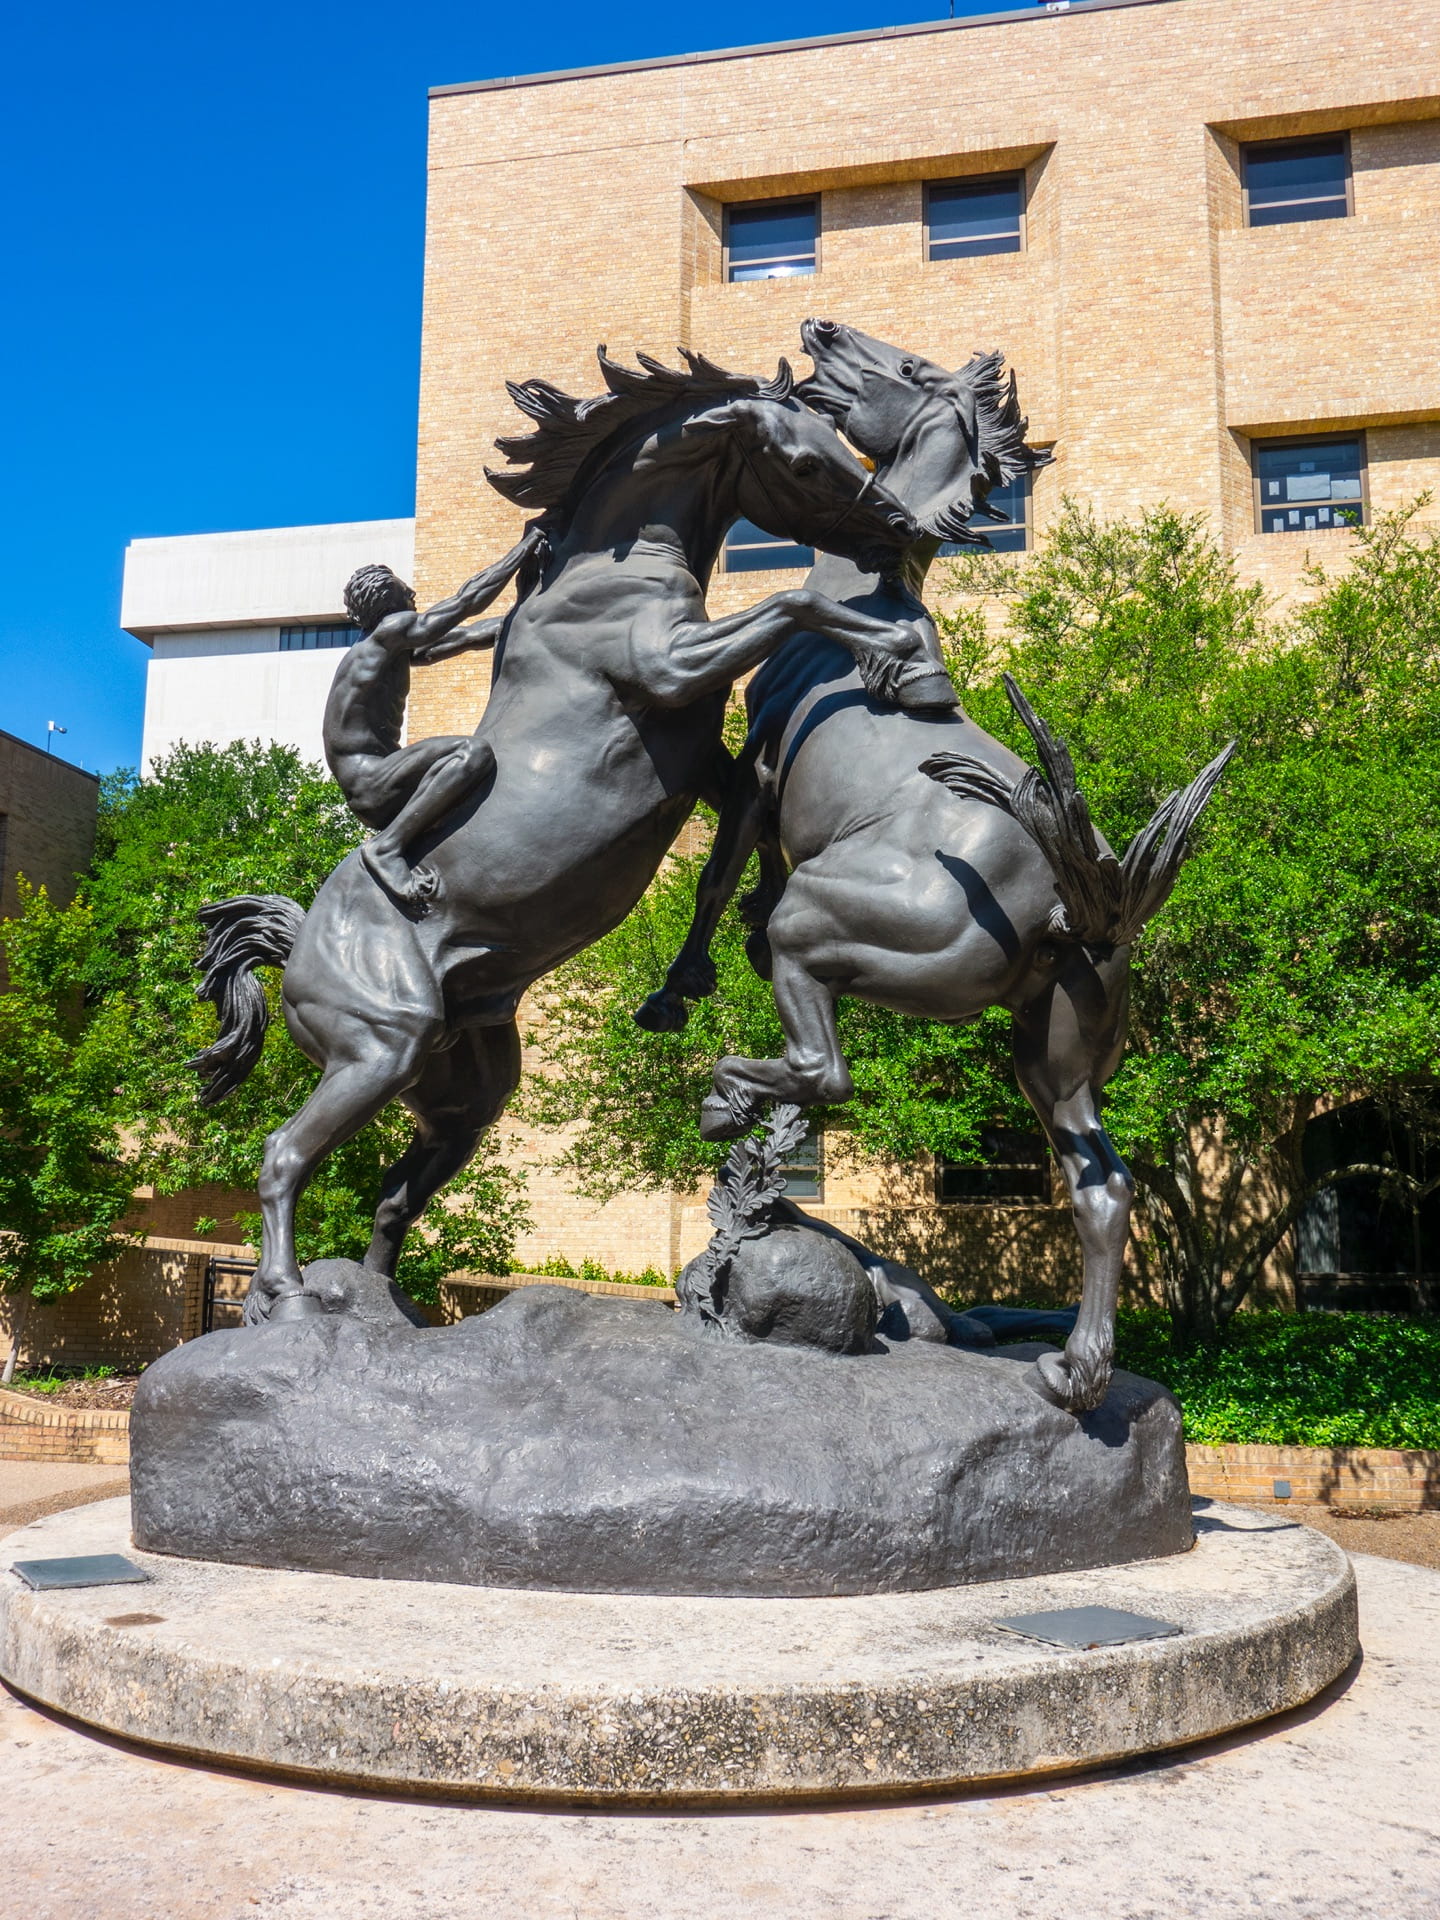
Image of Fighting Stallions (Saturated)
I began by removing parts of the image that would be quick. Using Select-Color Range I was able to easily select and remove all blue values. I then did the same thing with the green values, and yellow values. For each color I did need to adjust the Fuzziness to improve the selection area. I also had to do a minimal amount of de-selection using the quick selection tool to remove small areas of the stallions that were selected by the Color Range tool.
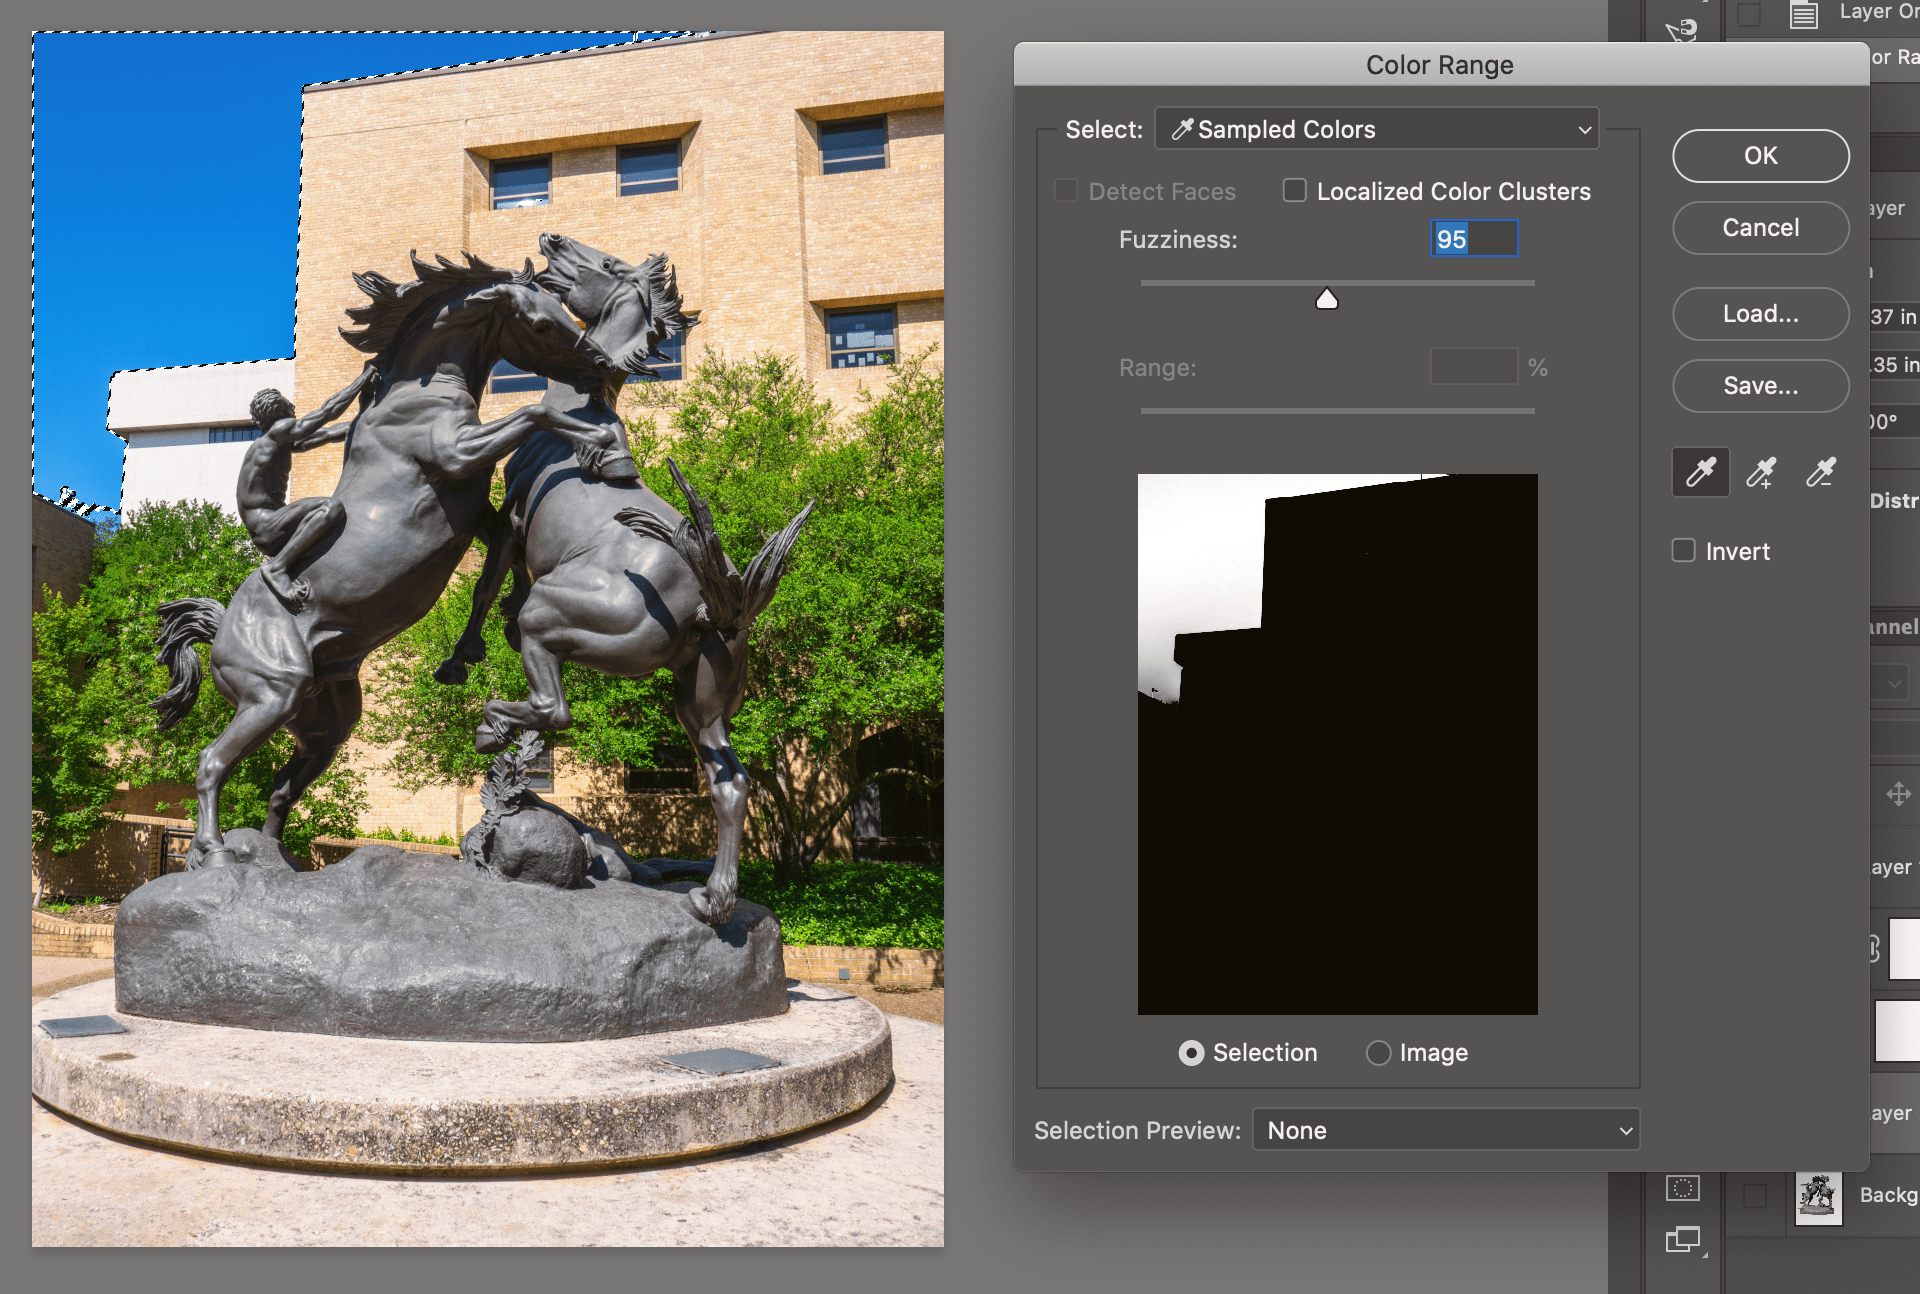
Using the Color Range Selection tool to remove Blue values
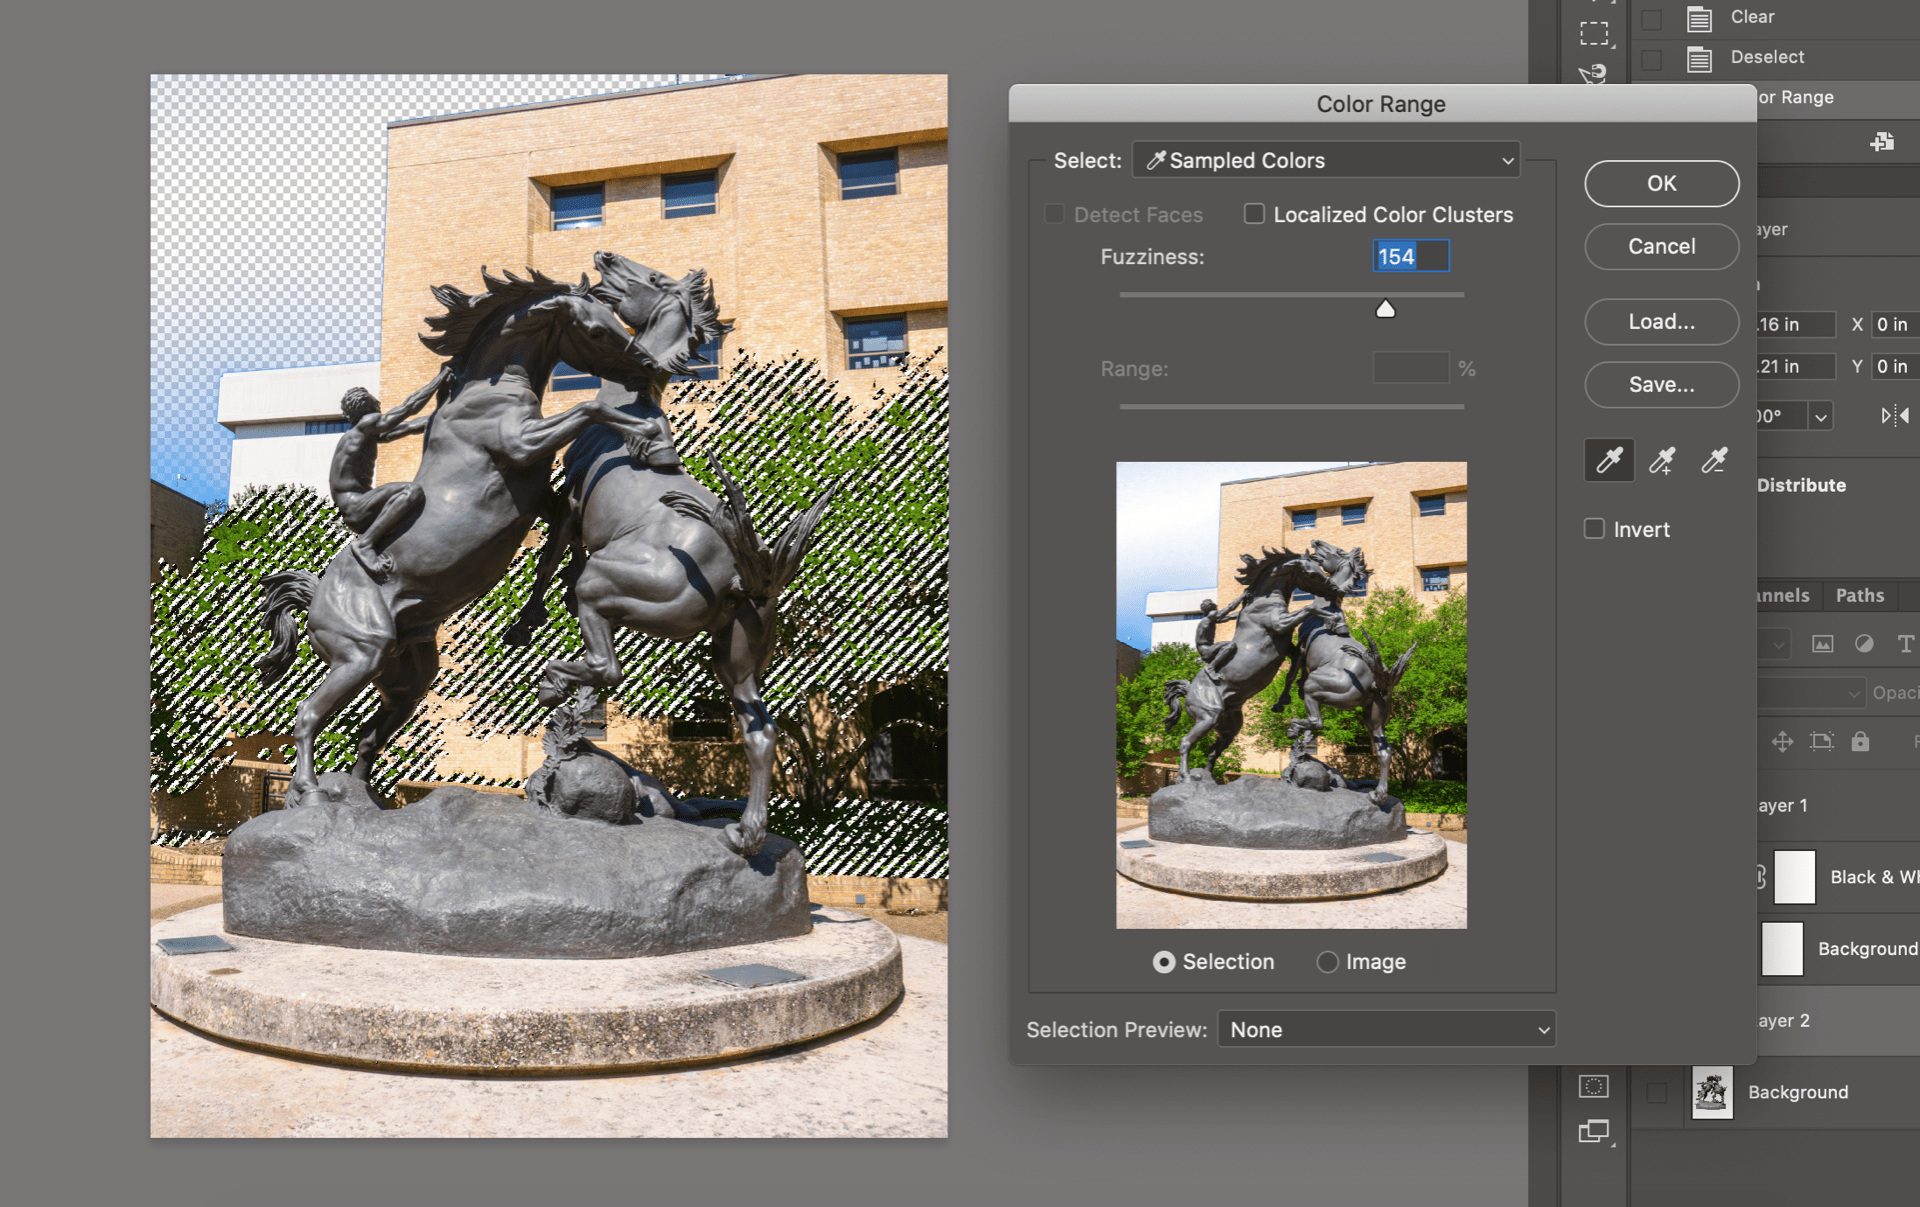
Using Color Range Selection to remove green values
I used the magnetic lasso tool to refine the edge of the shape of the stallion and remove parts of the environment/background that was less effective from using the color range tool. Here is an image about halfway through using the magnetic lasso tool to select an area and delete it. I found it best to work in smaller sections at a time.
Once I removed all unwanted parts of the image and had just the stallions isolated, I converted it to grayscale. I then used a 50% gray layer to refine the tones on the Stallions (mainly in the shadow areas). Click Here to see the final version!
Final Version – Grayscale