Whenever we receive a request for a printed photograph or custom image work, Photoshop is usually our tool of choice for fine-tuning and one of the most common adjustments is selectively brightening or darkening areas of the image. While there are multiple tools for enhancing the entire image, working only on particular sections of the image takes a little more care. One tool, Dodge and Burn, which takes its name from the process of adding more or less light to the exposure of the print from a darkroom enlarger, uses the Brush tool to lighten or darken an area of an image. However, this tool can often lead to creating artifacts and uneven transitions within the image. Highlights can become too white and shadows become blocked up; overuse of the tool can easily lead to a loss of detail in middle tones too. For a less destructive method using a 50% gray layer in combination with the brush tool, the steps below may be followed to make adjustments similar to dodging/burning for selected areas.
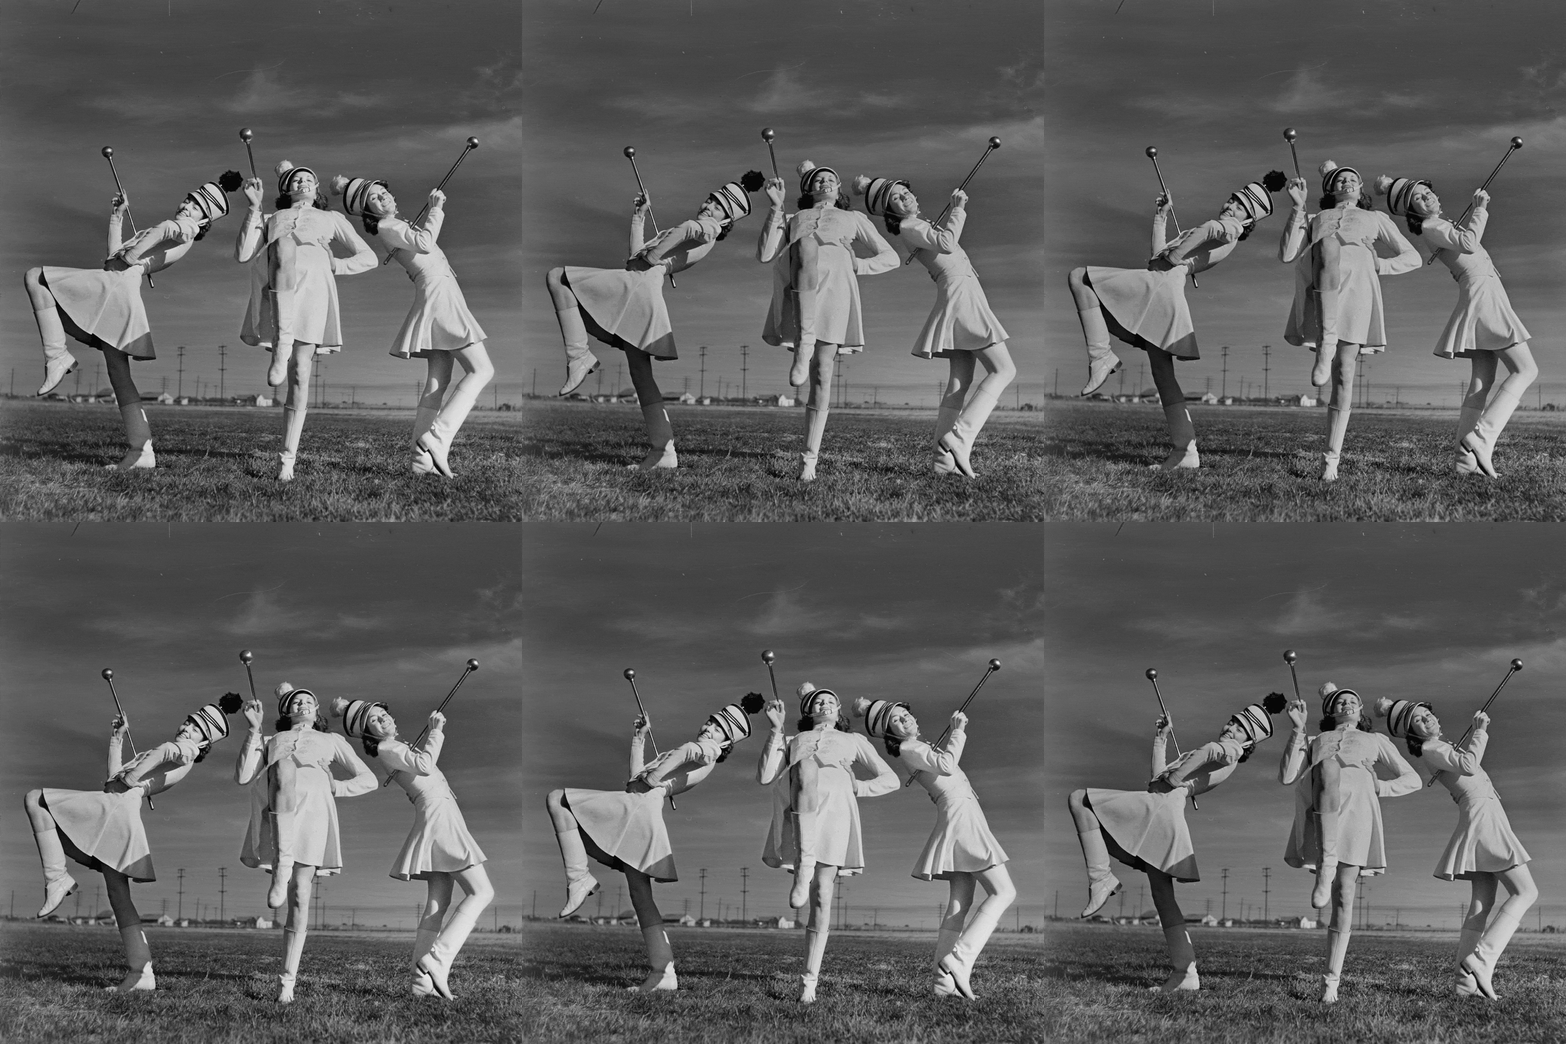
We are using this image from the San Marcos Daily Record Collection (from the University Archives) to illustrate one way to make localized adjustments to an image, by lightening the dresses of the majorettes only.
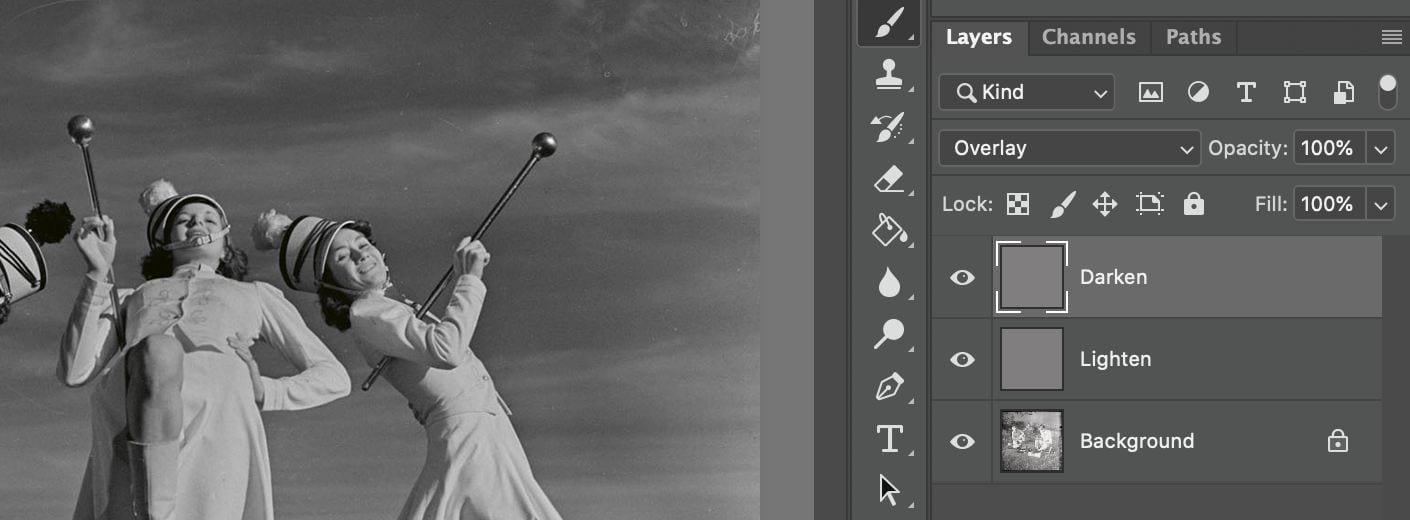
Begin by opening an image in Photoshop. In the Layer tool panel, make sure the image is a single locked layer, usually called “Background”. If it’s labeled as “Layer 1” instead, right click and select “Flatten Image”. Next, create two new layers: Lighten (Dodge) and Darken(Burn) using the method below.-
Create New Layer (CRTL + SHFT + N)
- Name it Lighten
- Color: None
- Mode: Overlay
- Opacity: 100%
- Check the box to Fill with Overlay-neutral color (50% Gray)
- Click ok
-
Create New Layer (CRTL + SHFT + N)
- Name it Darken
- Color: None
- Mode: Overlay
- Opacity: 100%
- Check the box to Fill with Overlay-neutral color (50% Gray)
- Click ok
Using the Brush Tool to paint in your values:
- Use the shortcut key “B” to select the Brush tool
- Set the Brush to a desired size that is appropriate to the area being altered.
- Adjust the size of the Brush as needed for different areas of the image using the shortcut Keys “[ ]”
- Set the hardness to 50% as a starting point and adjust as needed.
- Set opacity of the brush tool to 12% as a starting point.
- In the top toolbar, adjust the Brush Opacity to a lower percentage to make a more subtle change, increase the percentage to make a more dramatic change. (4-15% is a reasonable range to work within)
- Rarely should the opacity be set over 30%. This is the threshold that will typically alter the image too quickly and lead to a noticeable decrease in quality.

Darken /Lighten Image
- Make sure the color picker is set to Black and White. Use the Shortcut Key “X” to toggle between black and white.
- Make sure the “darken” layer is selected and black is selected as foreground color.
- Use the brush tool to darken desired area.
- Adjust brush size, opacity and hardness as needed to achieve the desired amount of coverage.
- When satisfied with the appearance of the darken areas, use the mouse to select the Lighten layer.
- Change the foreground color to white.
- Use the Brush tool to paint in the desired level of brightening.
- Click the eye tool on the side of the Layer to toggle the layer on and off and check adjustments.
- If the overall effect of the Layer adjustment is too strong, decrease the opacity of the Layer in the Layers Panel from 100% to make the adjustments less noticeable. Delete the layer and try again if unsatisfied.


